Source: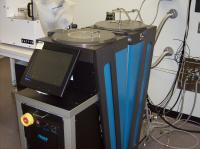
AMPEL ANF
Process Name:
PECVD deposition and etching
Author:
Mario Beaudoin, April 2014. Rev. 02, July 2017. Rev. 03, April 2021.
Overview:
This procedure explains, with some detail, how to obtain high quality silicon nitride and silicon dioxide films using the ANF PECVD tool. This process involves physical and plasma cleaning and a passivation/calibration deposition prior to deposition on the desired sample. Typical deposition rate for SiO2 and SiNx are roughly 1 nm/s. Typical etch rate with CF4:O2 at 50:10 ratio is also 1 nm/s for SiO2 and SiNx and 2 nm/s for photoresist.
Time needed:
Roughly 2 hours.
Procedure:
The system should be at standby when you arrive. The computer screen should appear similar to the picture below:
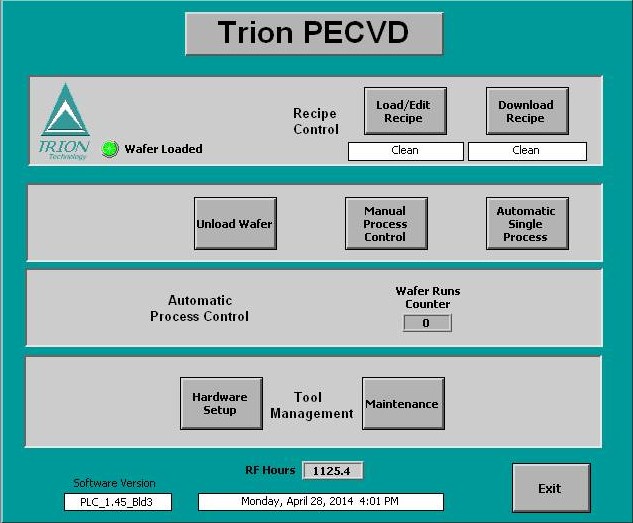 This is the usual PECVD front panel. This is how you should find the system and how you should leave the system after your process.
Note the Unload Wafer button which indicates that the susceptor should be inside the reactor chamber. If it is not, then you need to go to the maintenance menu and load it in “manually” so that the program “knows” where the susceptor is.
The first rule for obtaining good films is to work with a clean chamber. The pictures below show why.

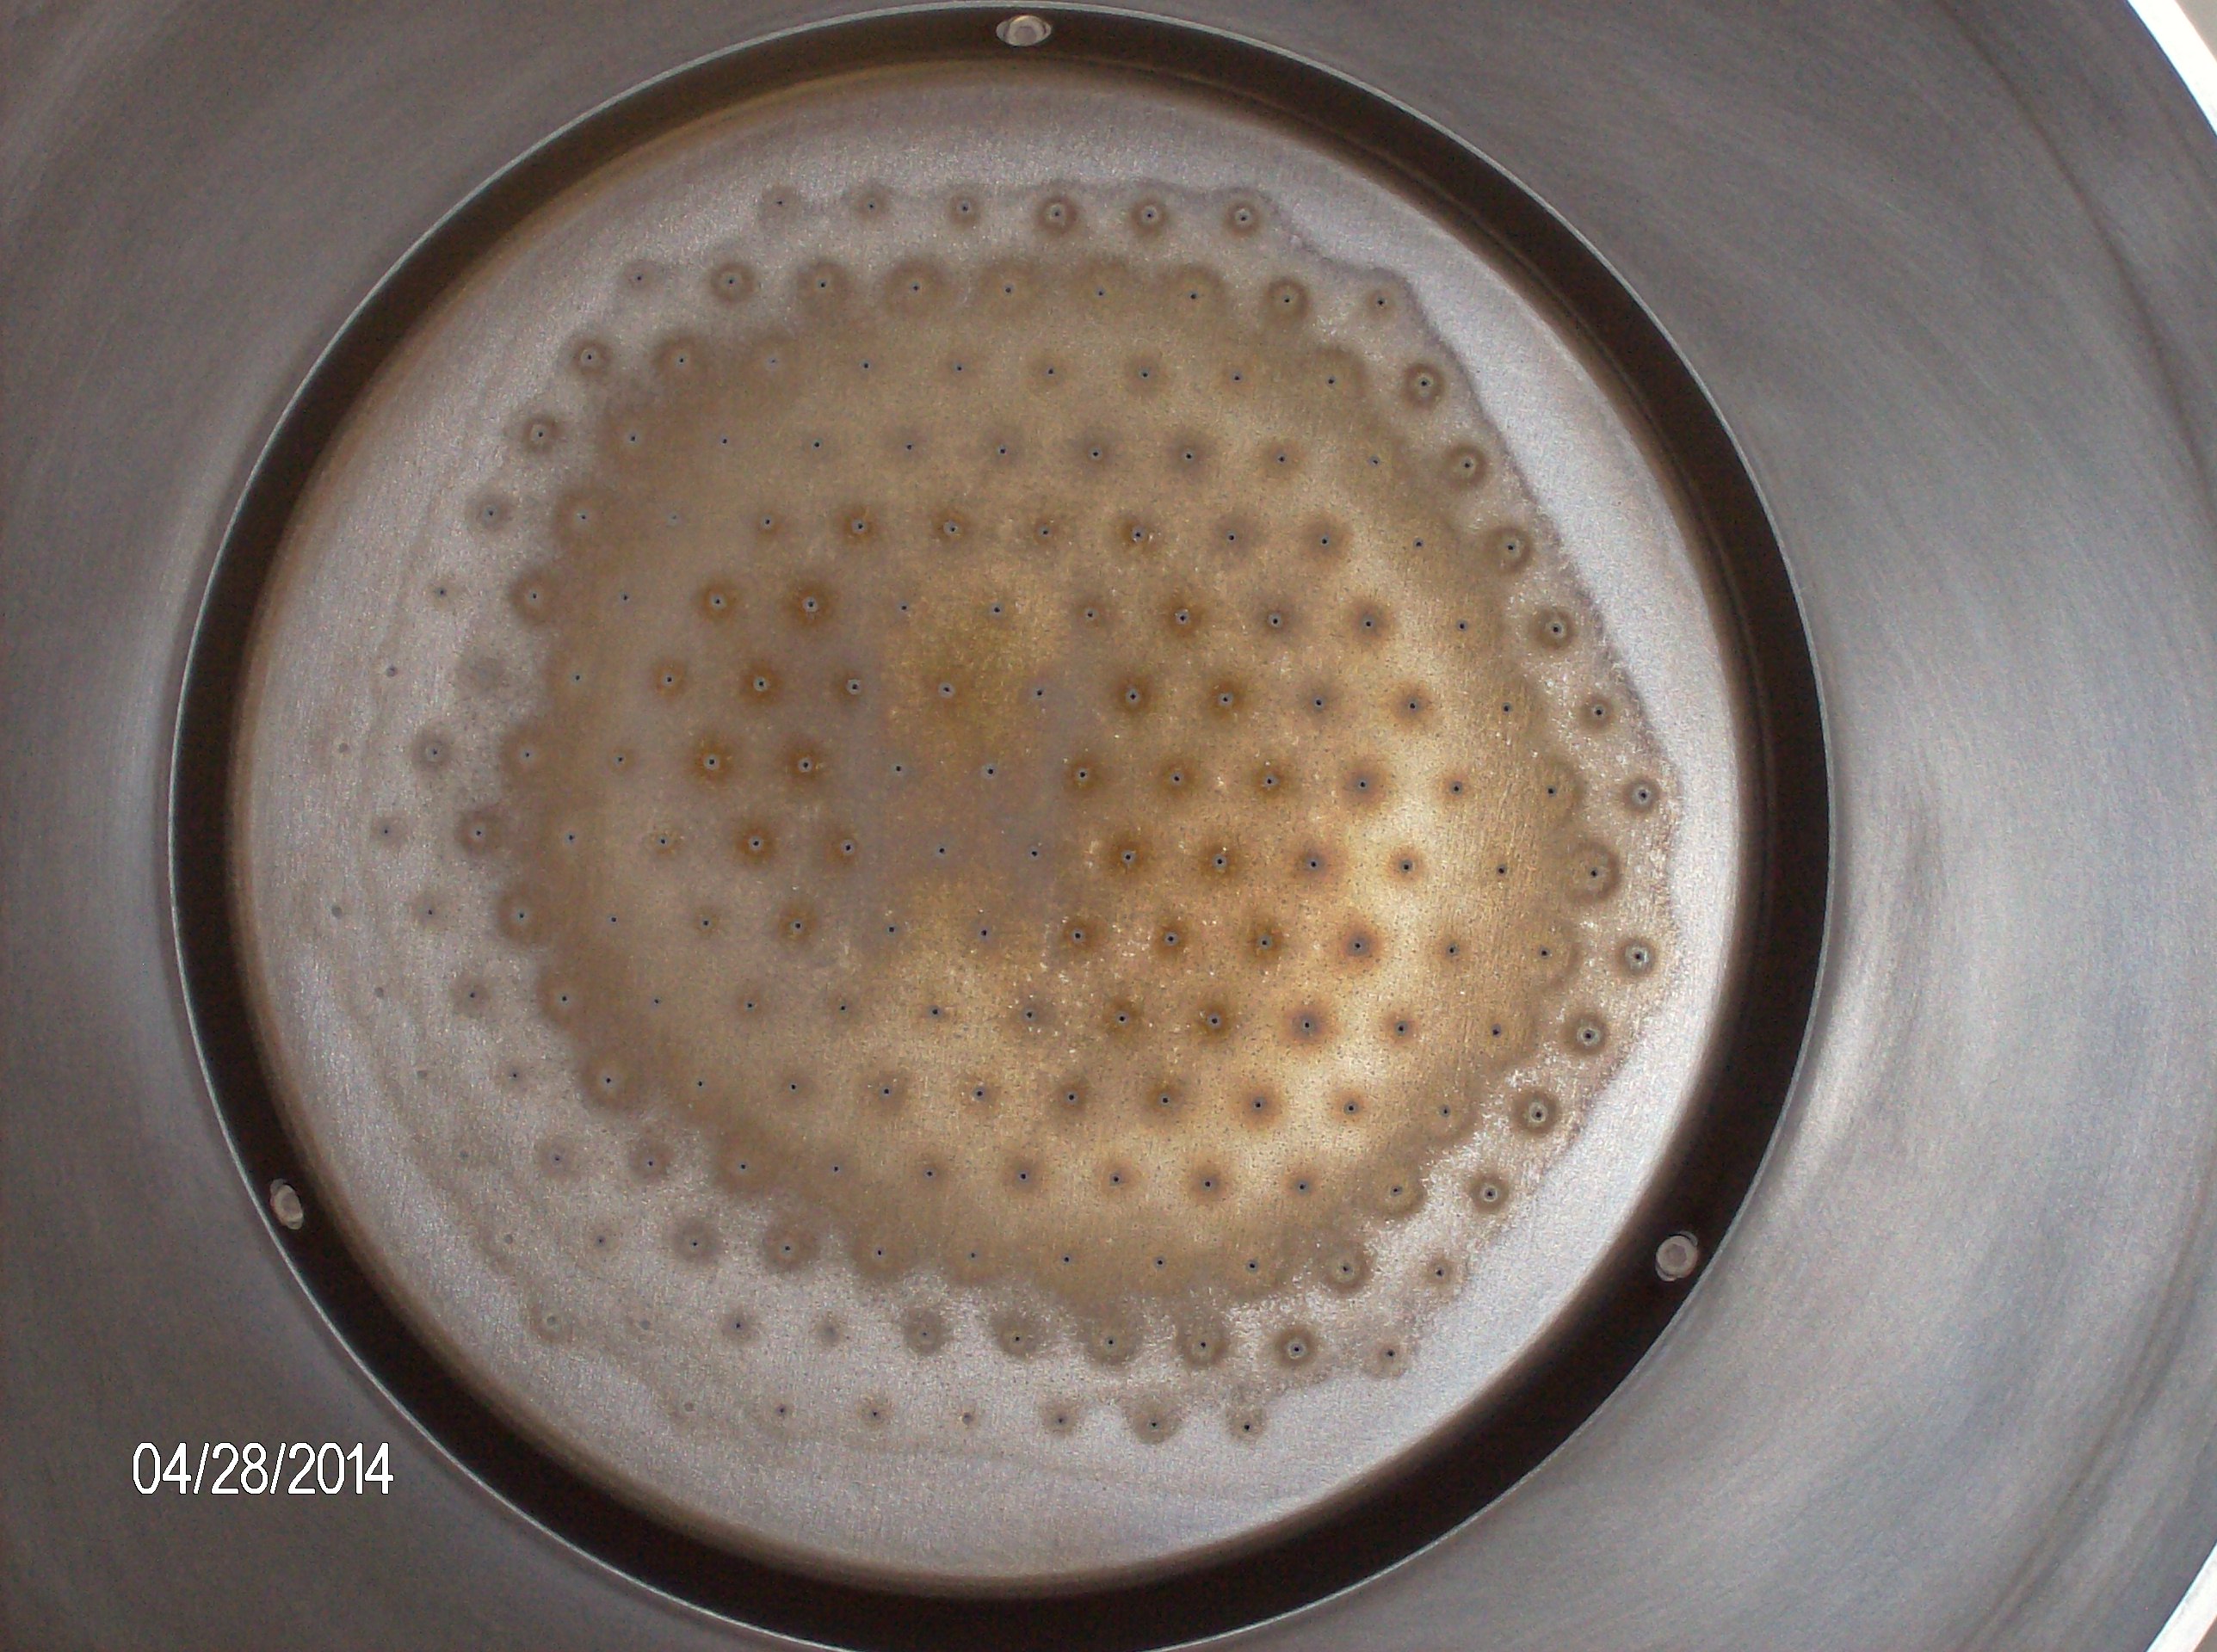
These pictures show the inside of the reactor with a close-up of the gas shower-head. If the inside of the reactor is this dirty, poor quality films are garanteed. The process consists of physically cleaning the gas shower-head and the ceramic insulator using cleanroom wipes and water then cleanroom wipes and isopropanol.
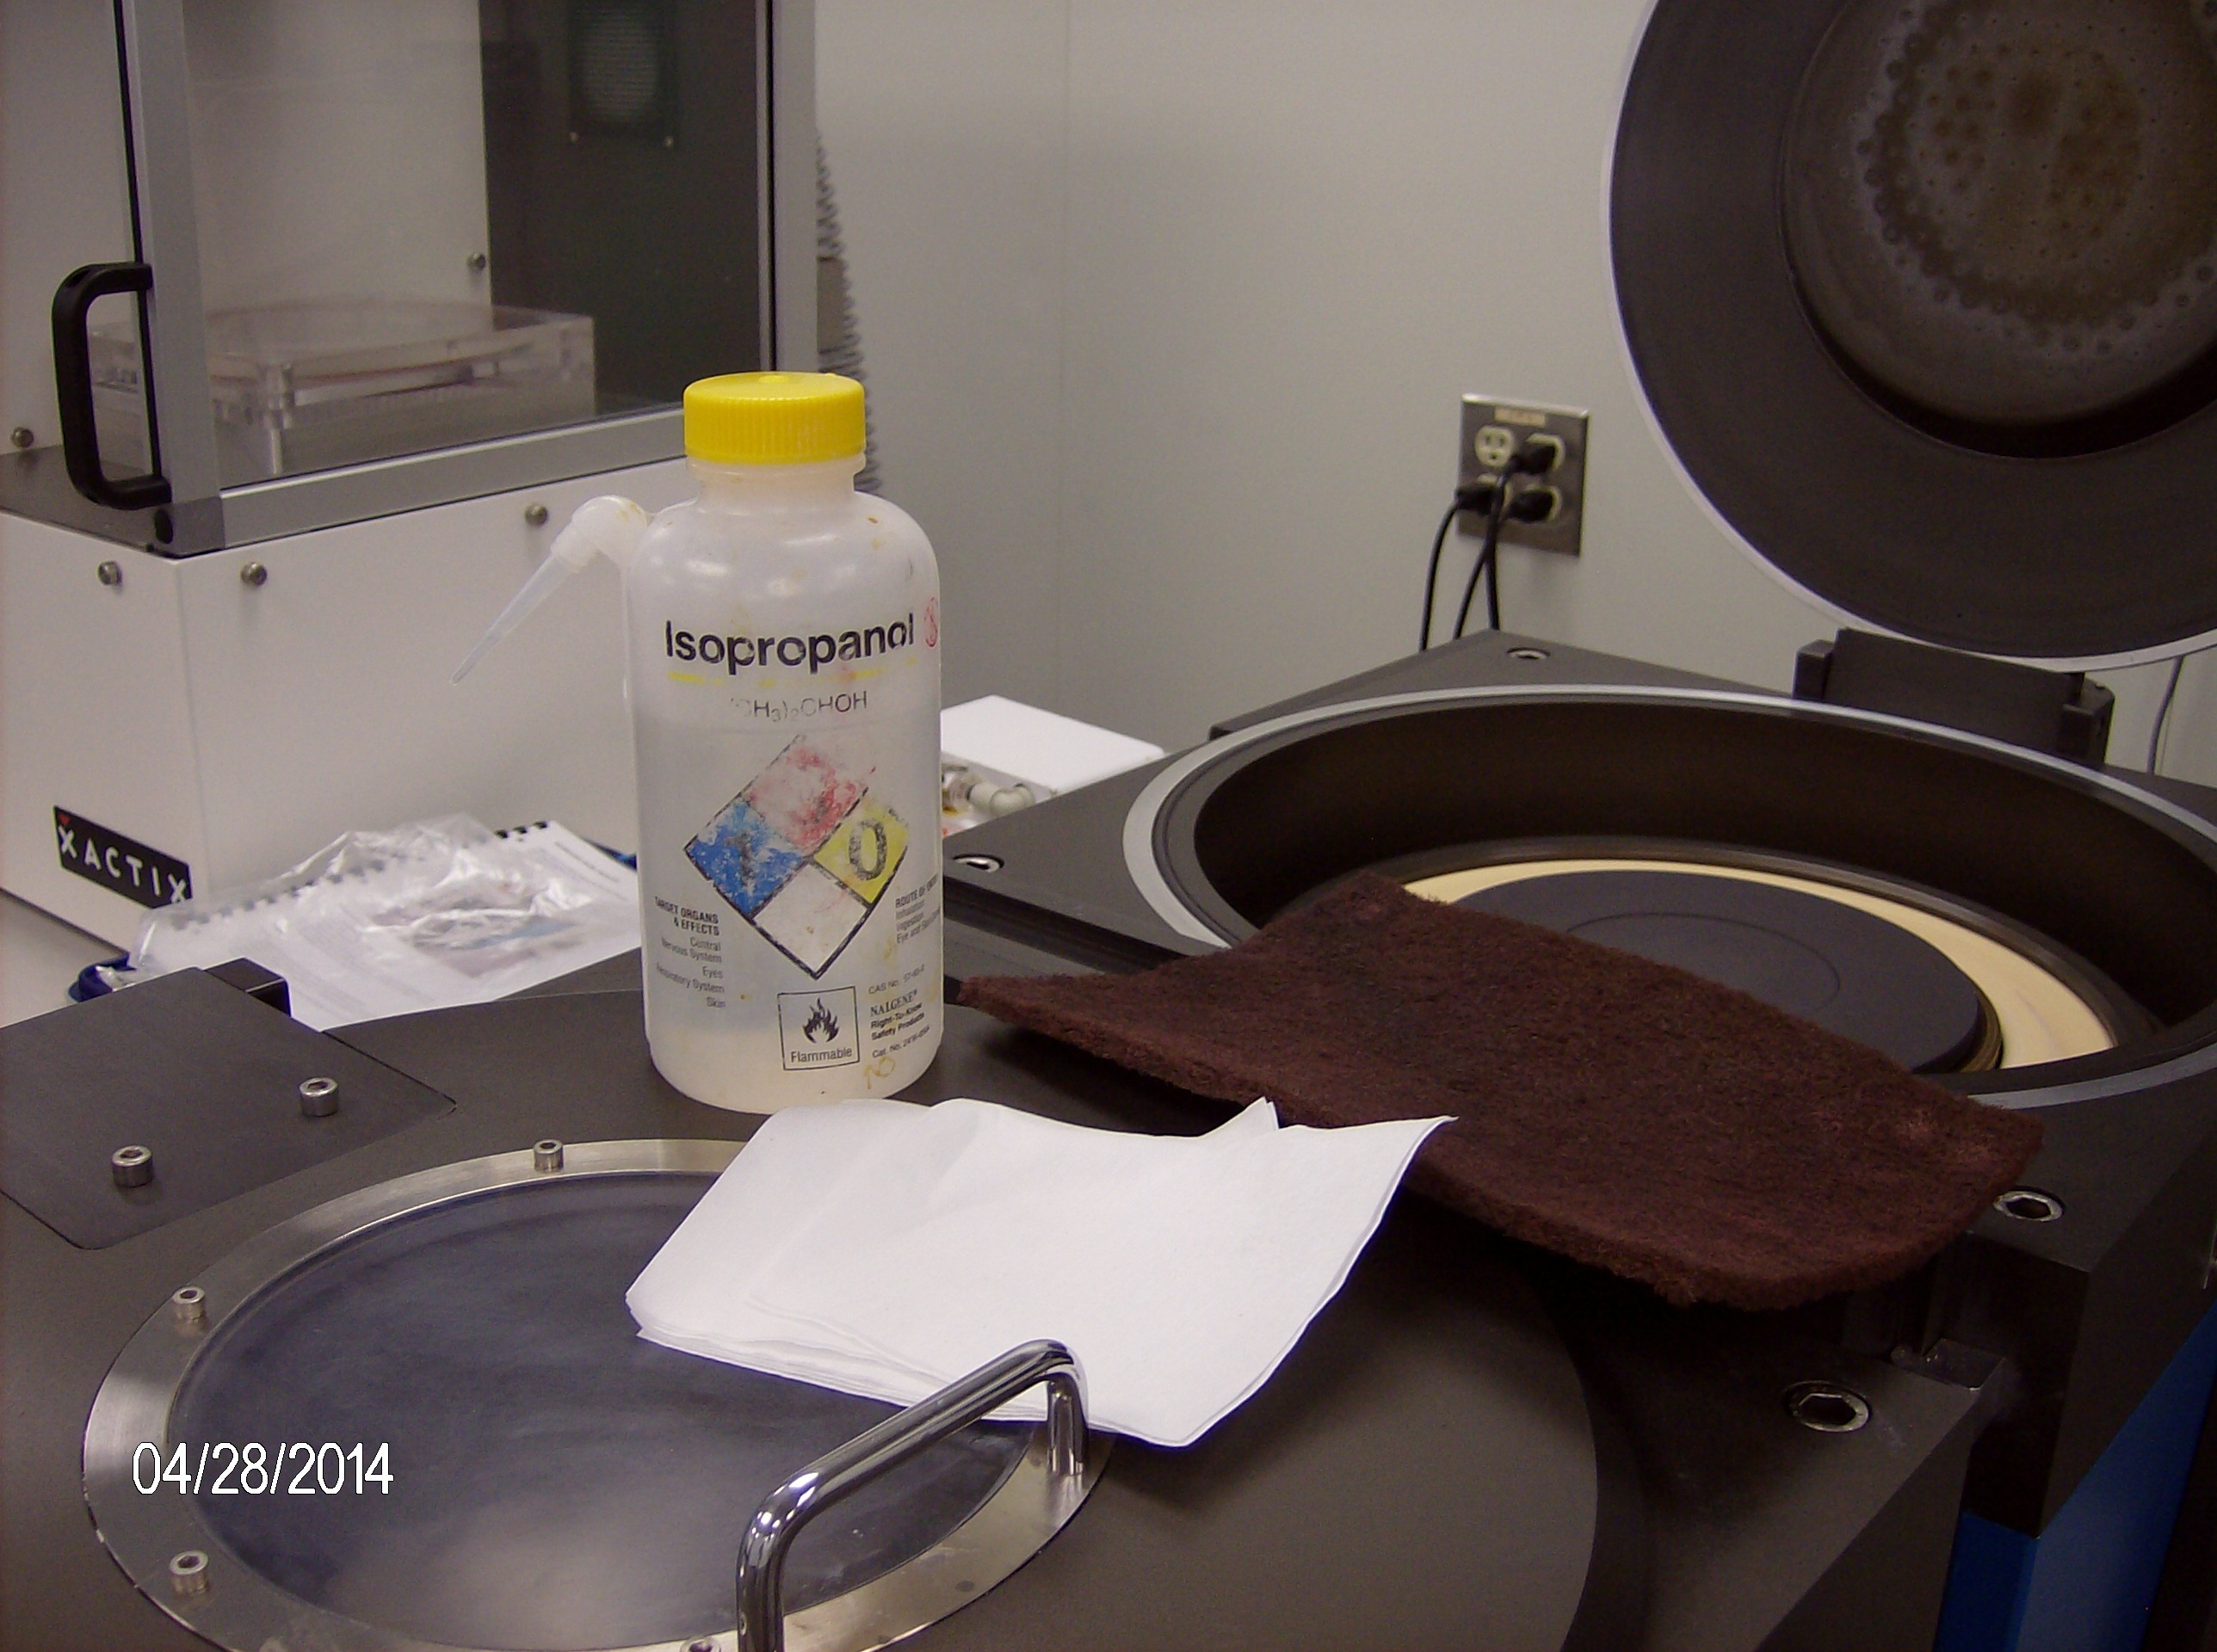

After the manual cleaning, the shower-head should appear as on the right-hand side picture just above.
The system should normally be clean when you arrive. It is a good idea to check the logbook to see what processes where performed in the preceding experiments to determine if you can skip the manual and plasma cleaning steps below. It is recommended to never skip at least the plasma clean step prior to a deposition.
Cleaning the chamber:
Manual (physical) cleaning
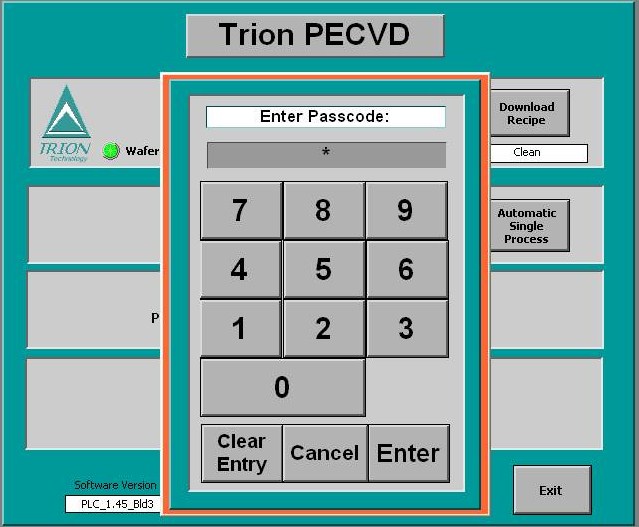
From the front panel, press the Maintenance button which will take you to the window on the left below where you will enter the password (the password will be provided to users during training). Typing in the password brings you to the Maintenance Panel (right).
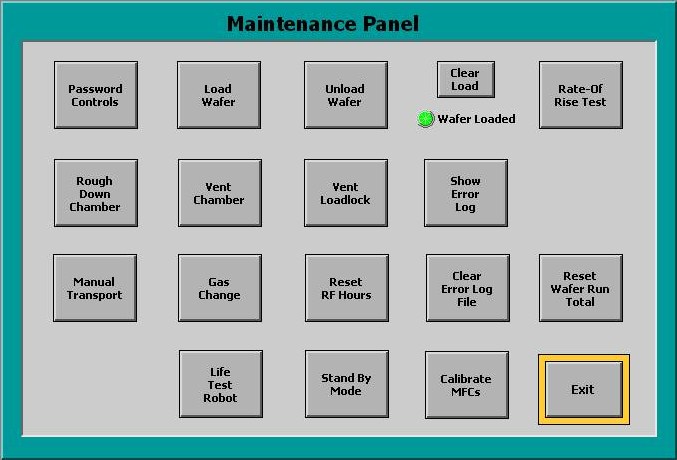
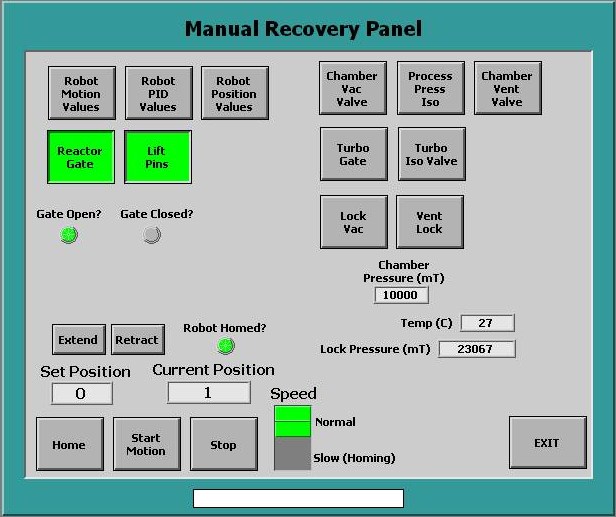
From the Maintenance Panel, press Manual Transport to get to the Manual Recovery Panel.
The Manual Recovery Panel allows you to overide all automated safeties on the system. It is therefore important that you be fully trained and understand the operation fully before pressing buttons.
Open the reactor to atmosphere and clean:
- Normally, the Chamber Vac Valve, the Process Press Iso and the Lock Vac should be GREEN, indicating that both vacuum pumps are evacuating the chambers.
- Make sure that the pressures in both the load-lock and chamber are within 1000 mT of each other.
- Open the Reactor Gate
- Close the Vacuum valves (Chamber Vac Valve, the Process Press Iso and the Lock Vac should be GREY).
- Vent the chambers by pressing the Vent Lock button.
- When the chambers have reached atmosphere, open both chamber doors and shut the Vent Lock.
- Using cleanroom wipes and DI water, scrub the shower-head and the ceramic to remove residue.
- Wipe scrubbed surfaces clean and dry with cleanroom wipes and isopropanol.
- Wipe other reactor chamber surfaces with wipes and isopropanol as needed.
- Wipe chamber doors and door o-ring seals with wipes and isopropanol.
- NEVER wipe o-rings with acetone
- NEVER put vacuum grease on the o-rings.
- Close doors and pumpdown by pressing Lock Vac, Chamber Vac Valve and Process Press Iso (make sure all doors are vacuum tight)
- Close the reactor gate when both chambers show vacuum:
- Pressure in the load-lock should eventually settle to better than 50 mT.
- Pressure in the reactor chamber should eventually be better than 30 mT.
- Press the Exit button
Plasma cleaning
From the front panel, download the cleanpurge recipe and, using manual process control, perform a 30 min plasma clean of CF4 and O2 (example panel on the left below). It is a good idea to set the susceptor to the growth temperatue while performing the plasma clean to save time later (it takes about 30 min for the susceptor to reach growth temperature). NB: the maximum temperature of this machine is 400 °C.


Passivation/Calibration deposition
- Load a dummy sample, usually a piece of silicon in the reactor (center it on the susceptor).
- Load the desired recipe (example on the right above is a typical SiN recipe).
- Allow about 5 minutes with the sample inside the reactor at growth temperature for the substrate temperature to reach growth temperature.
- Open the DES valve inside the gas cabinet.
- Deposit for 10 min
- Press Gasses Off until it turns green
- Wait for flows and pressure to stabilize
- Press RF Off until it turns green
- (follow with N2 purge, 3X fill and pump or 2 min under 100sccm N2 flow)
- Unload dummy wafer and load your sample inside the reactor chamber
- While you wait for your sample to reach growth temperature, use the Filmetrix to measure the dummy sample thickness and calculate the film growth rate (NB: under current conditions, expect about 1 nm/s growth rate but keep in mind that this is a multi-user, multi-uses system so the growth rates do vary from time to time). You also look at the quality of the dummy sample. It should give you good Filmetrix fringes and fit and you should not be able to see the filmetrix light spot on the sample. If it doesn’t, or if the surface is too hazy, contact ANF staff before risking your good sample.
- Perform your deposition and unload your sample (remember N2 purges).
Post growth plasma clean
- Close DES valve in gas cabinet
- Load the clean recipe, set the chuck temperature to zero so it cools down
- Using 45 sccm flow, empty the DES gas line through the reactor
- When the DES line is empty, turn the DES flow to zero
- Perform plasma clean 2X as long as the TOTAL film deposition (calculate both useful and passivation times).
- Purge system with N2 (3x fill and pump or 2 min under 100sccm N2 flow)
- Exit and leave system how you found it, with the susceptor inside the reactor and the system on standby.
Etching of samples
- Etching of samples is essentially the same process as plasma clean except that the DES should already be empty.
- Load the desired etching recipe
- Load your sample into the main chamber
- Wait for the chuck temperature to reach desired etching temperature
- Perform your etch
- Take out your sample
- Load the susceptor back into the main chamber
- Perform a plasma clean step (at least 10 min but may vary depending on the materials you tried to etch before).